Deliver a live lesson in TrainerCentral
TrainerCentral allows you to broadcast your voice and video, screen share, showcase videos and present slideshows to attendees in different locations. By default, when you begin, TrainerCentral audio and video will be enabled. You can start a session either by uploading a presentation, showcasing a video or sharing your screen with remote learners.
Launch a remote session
- Click the Create Session button in the upper-right corner of the Sessions page.
- Enter a name for your session in the pop-up window.
- Select Remote Session as the session type. (Learn more about scheduling a remote session.)
- Enable registration for your scheduled session and share the session details with attendees by email or through social media.
- You can record your sessions if required. View the total space available (as per your subscribed plan) and the storage space consumed.
There are three ways you can launch a session:
Train with a presentation
- If you would like to begin with a presentation and poll, you can create (using Zoho Show)/ upload or import one.
- Share the link or the session details with attendees.
- If you have already chosen to use a presentation, it will appear on your screen and your attendee's screen.
Note: You can also start a session without a presentation by clicking on Launch, then click Start Broadcast and choose what you would like to share by clicking Share material.
Train with screen share
- To begin with screen share, click Launch on the Session Details page.
- Check the audio and video configuration and click Start Broadcast.
- Click Share your screen to begin sharing your screen with your attendees.
- Attendees will be able to join the session by clicking the Join link or with the key you've shared with them.
Train with a video:
1. Click on Share Material and choose the video file that you wish to broadcast.
2. You can also add new materials to your training during the live session by clicking on Pick from Library.
3. The trainer is given complete control of the video. The viewer will not be able to control (stop, re-wind, fast forward) the video when it is being played during the live training. You can also use the video toggle bar to move to the specific portion of the video that you wish to show your audience.
Join From a Mobile Device
There are three ways for attendees to join your session from their mobile devices:
- Connect through a web browser: The attendee goes to attend.zoho.com and enters the Join key from the instruction slide.
- Connect through a "Join" link: The attendee clicks the Join link sent in the registration email.
- Connect through the Viewer app: The attendee downloads the Viewer app from either the Play Store or the App Store, and once they're in the app, enters the Join key.
Once attendees are connected, they can use their mobile devices to view your slides, answer poll questions, pose questions about slides, and "like" other attendee's questions.
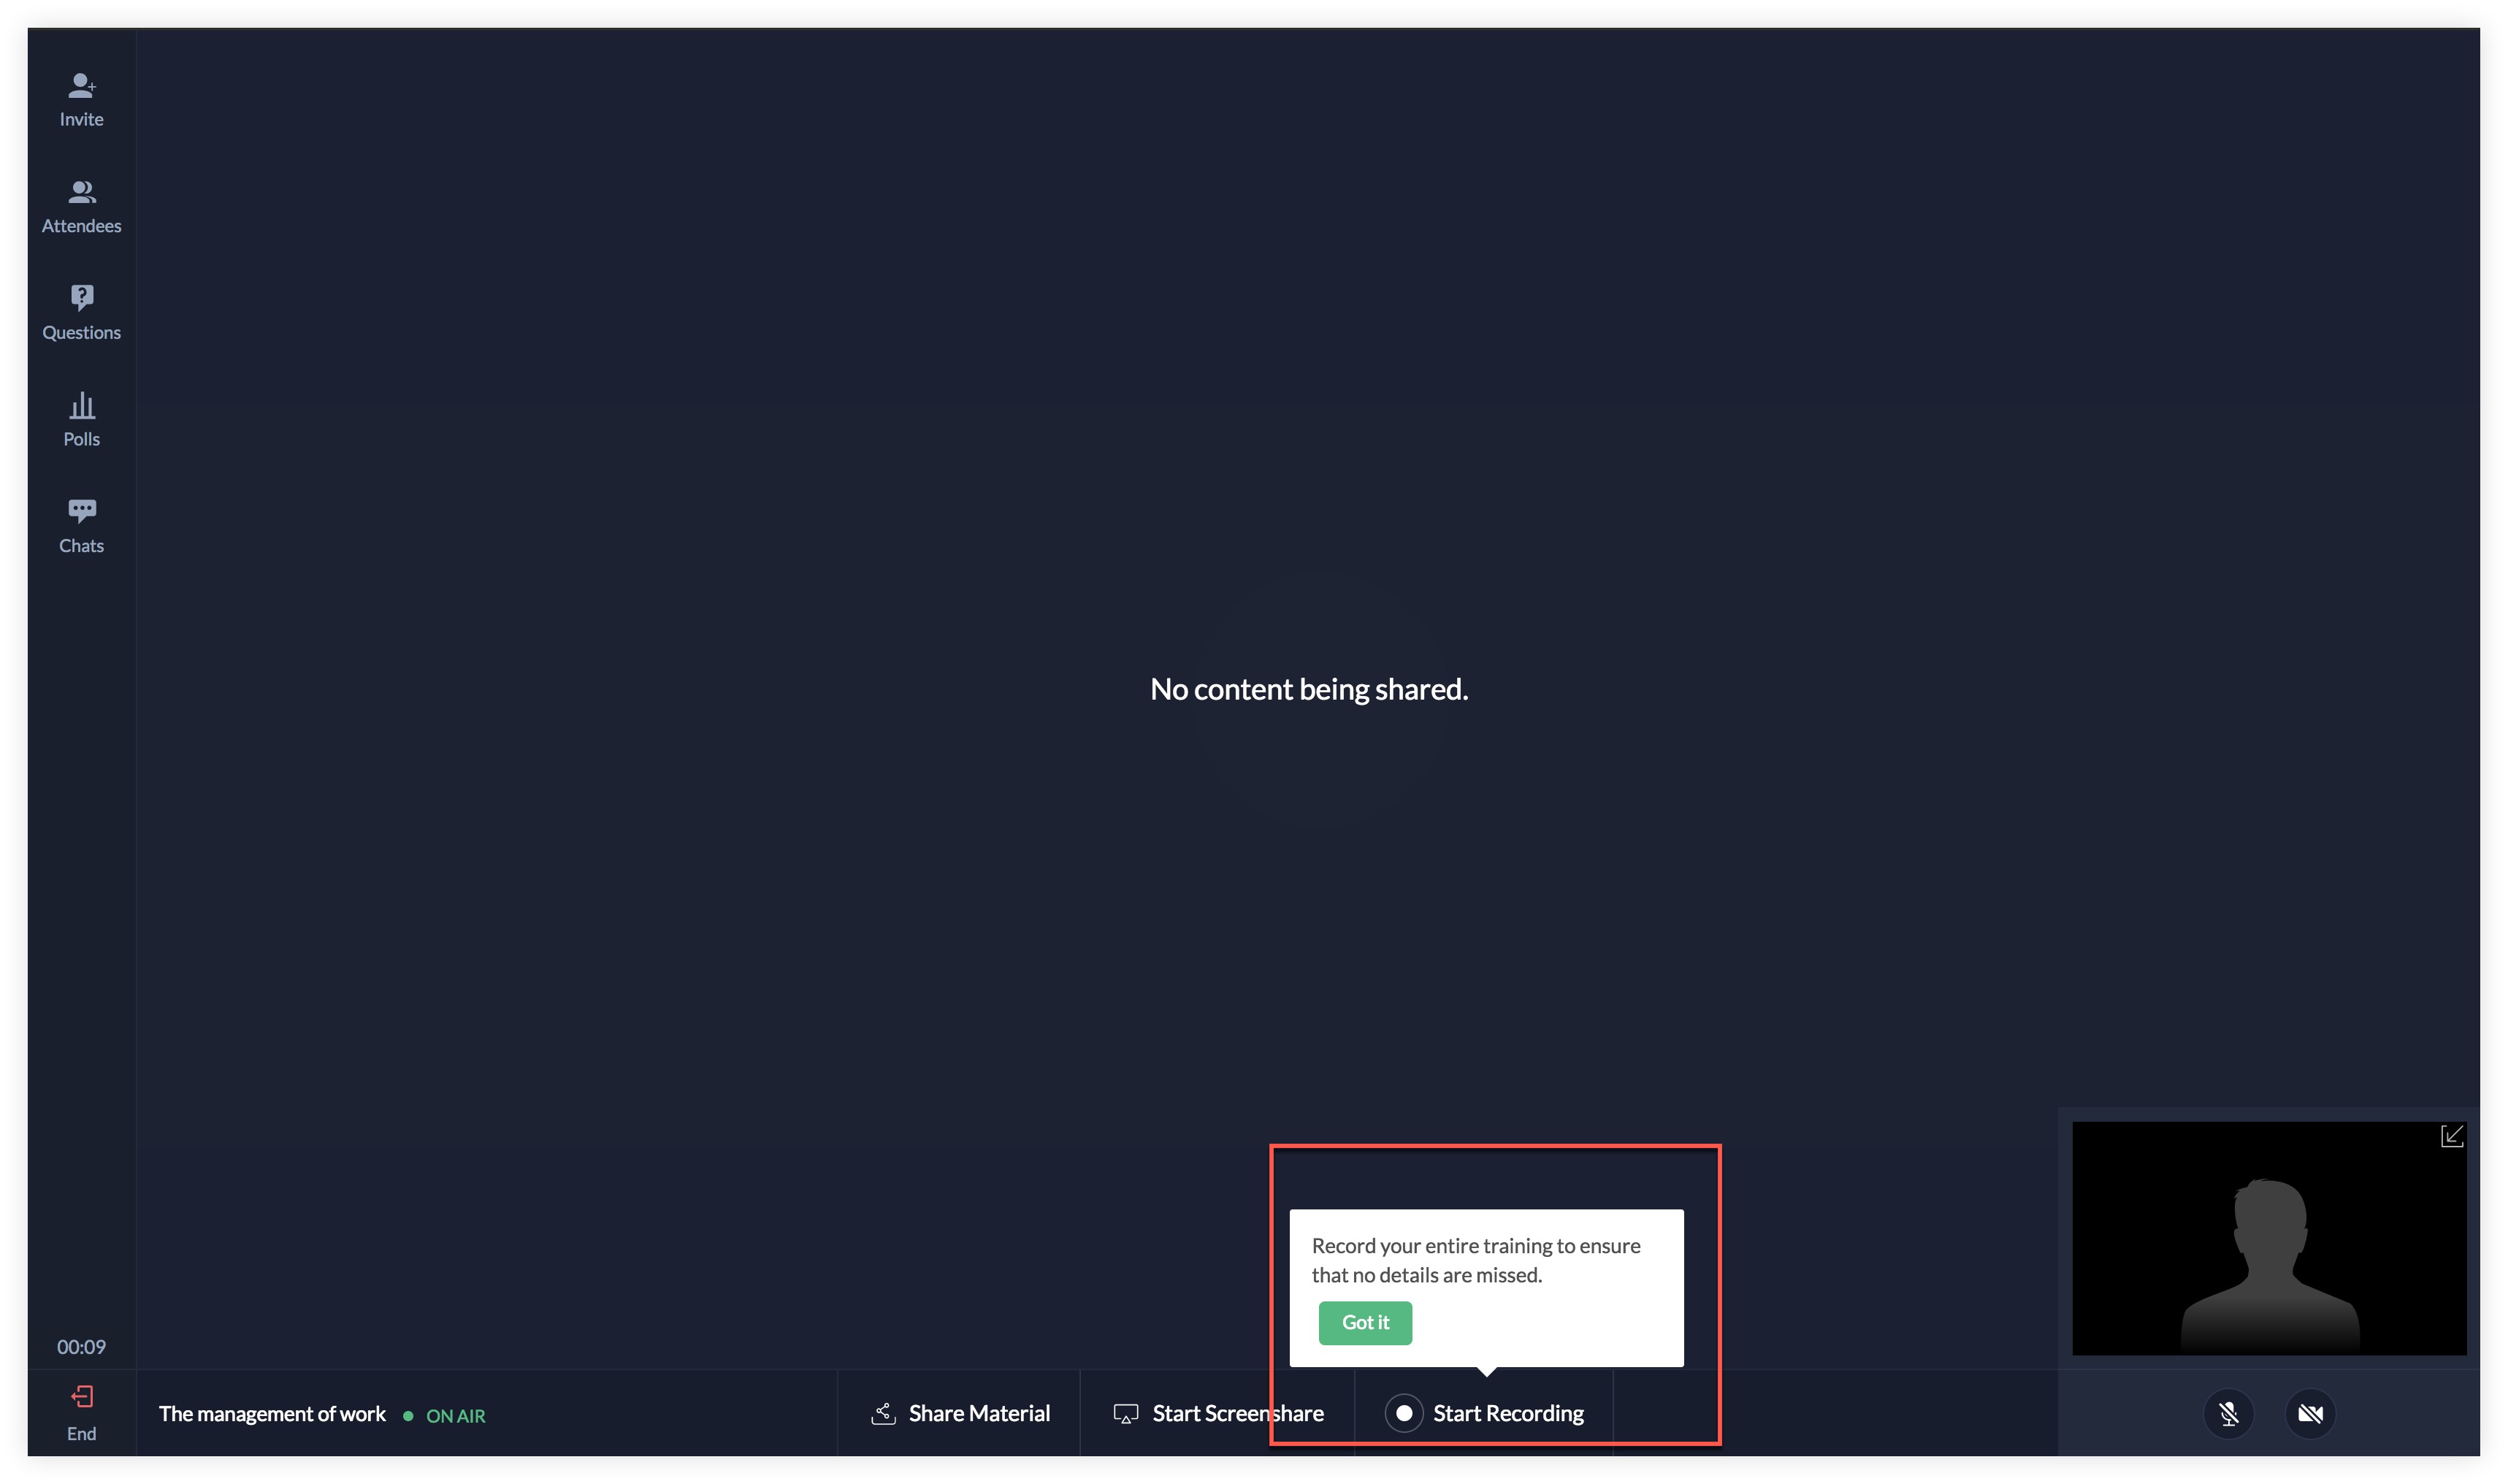
Session Recording
- Record a session while you deliver and it will automatically be saved in a centralized location.
- Click on Start Recording to begin recording your screen during the session.
At any time you can click on Stop recording to end the screen recording.
Play, download or delete a recorded session
- You can Play, Download or Delete a recording in the Session Details page of a completed session.
- You can view the number of recordings, duration, and file size of the recordings along with the date and time.
- You can also download the recording in MP4 format.
- If you want to share the recording to your registrants, Click Send Recording.
You can also find all the recordings will be available as an Mp4 on the Recordings Library.
Note: You can start and stop your recording multiple times during the session. Every time you click start and stop recording, a video file corresponding to that recorded time will be created. In case of a network problem, if the screen reloads within one minute your screen recording will continue else the recording will end
Share the recording:
To share a recording, simply click the share icon in the Recordings tab and enter the recipient's email address.
Screen share
When you select Screen share on the Options page, you will be prompted to select Your entire screen, Application window, or Browser Tab. Select one and click Share.
Google Chrome users have to install the extension to use TrainerCentral's screen share.

Choose what you would like to share: Your Entire Screen, Application Window, or Browser Tab. Select one and click Share.
- Your Entire Screen - Share your entire screen with attendees.
- Application Window - Share a particular application window with attendees. They will be able to view only the application and nothing else on your screen.
- Browser Tab - Share a particular browser tab with your attendees.

When you share a screen, your attendees will be able to view the shared screen on their mobile devices or laptops. When the live streaming begins you will see "Screen share is in progress. Your attendees can view the screen that you choose to share." During the process of choosing an application to share, your attendees will see the screen "Trainer is gearing up for the session. Please wait."
To switch between screens during screen share:
If you would like to share a different screen with your attendees, click the Screen Share icon. A screen share pop-up will prompt you to choose what you would like to share with your attendees.
Stop Sharing
Once you're done, click Stop Sharing. If the session was started with a presentation, you'll be returned to it. If the session was started directly with screen share, when you click Stop Sharing you will be taken back to the Options page to choose a Presentation or Screen share. Your attendees will still be able to hear and see you. You can also still conduct polls and receive the questions attendees pose.
Exit
Once the session is completed, click Exit in the bottom-left corner of the screen. You will be prompted if you want to end click End Broadcast to quit the session. Request attendees to provide a rating and feedback when they are prompted.
Using Whiteboard in TrainerCentral
TrainerCentral offers a virtual whiteboard in your online training room, allowing you to draw, place shapes, and lay text that is viewed in real-time. Whiteboards help you educate your audience through illustrations and explain difficult concepts to your learners in a simplified manner. In TrainerCentral's whiteboard, you can use a handy set of tools such as text boxes, shapes, drawing tools such as pen/marker, and much more.
To use the whiteboard feature:
Click on Whiteboard at the bottom of your screen once after you launch your session.
This will open a white canvas board in a new tab. Now, you can begin to draw and practice on this whiteboard using different set of drawing tools available. Note that your participants will not be able to see this whiteboard window unless you share your screen.
To share the whiteboard:
1. Choose Start ScreenShare at the bottom of your whiteboard window and click Select window -> Whiteboard
Note: The Whiteboard contents can't be saved or downloaded for future use.
TrainerCentral offers various tools like textboxes, shapes, line, pen, marker etc. You can also click on Selection on the top to change colors, font etc. To know how to use these, refer to the video below.
2. Once you're done using the whiteboard, click Stop Sharing at the bottom to stop sharing your screen.
3. To exit the whiteboard tab, click Close whiteboard. This will redirect into your TrainerCentral session.
Use external drawing boards as Whiteboard.
TrainerCentral allows you to use external devices such as IPad, Wacom etc. as a drawing board for your whiteboard. Once you setup the external device, you can start drawing on them to display workflows and training content to your audience.
Here are few guidelines on how to connect common external devices:
Presentation Slideshow Navigation
This section is applicable only when you choose to deliver a session with a presentation.
Forward and Backward
Navigate between the next and previous slides in TrainerCentral using the arrow icons at the bottom-right corner of the screen or with the arrow keys, page up, and page down keys of your keyboard. Attendees will be able to view your current slide and any that preceded it.
Next Slide
This area displays the next slide/animation. To move directly to another slide, click the numbered button to the left of the navigation buttons or select it from the All Slides tab.
All Slides
This tab displays a view of all the slides in your presentation.
Slide Notes
Use Slide Notes when creating your presentation to remember key points of your slides and improve your delivery. Notes are displayed to the right of your current slide and are not visible to attendees.
Enable and mute audio/Video
Click the Microphone/Video icon above the bottom right corner of your screen to enable and mute audio/video during your session. By default, the audio and the video will be enabled when the session starts. Attendees will not be able to enable audio unless you do. Audio and video works while you give a presentation as well when you share the screen with attendees.

Track your time
Time management is vital during a presentation. Use the Timer tab on the left side of the screen to stay on track.
Initiate Screen share
To initiate screen share while you deliver a session, click the Screen share icon on the left side of the screen.
Know your attendees
Click the Audience tab on the left side of the screen to learn more about the attendees: the number of attendees present, their status (active or offline) and engagement level, and which slides they're currently viewing.
Search for attendee with name or email address
When there are hundreds of learners joining the virtual training, it might sometimes be difficult to pick or identify a particular trainee. Trainers can now search for an attendee with their name or email address inside TrainerCentral's virtual classroom. This helps them connect with any specific individual much faster, monitor their involvement, and build a personal connection.
An open mic for attendees
Invite attendees to voice their opinion during the session using the Open Mic feature.
To request an attendee to talk, go to the Attendee tab. A list of attendees' who are online will appear, along with their engagement level. Click the Grant Mic Access button next to the corresponding attendee to send a request. The attendee will be notified. When they accept, they will be able to voice their opinion. The trainer is able to mute and unmute mic access anytime during a session.
If the trainer mutes the mic permission for all the attendees, then each attendee who wants to voice their opinion can request open mic access from the trainer. Once the trainer accepts the request, the attendee can start to speak. Only one attendee can request open mic access. A trainer accepting a new open mic request will revoke the access given to the earlier attendee.
Allow attendee to share their mic/cam
You can allow your session attendees to share their mic and camera during a live workshop. Click on the People tab in the left pane and choose Grant mic/cam access next to the attendee's name.
You can also revoke this attendee's camera and mic access if you wish.
Allow attendees to share their screen
You can allow attendees to share their screen to you and your audience by granting screenshare access to them. Click on the People tab in the left pane and choose Grant screenshare access next to the attendee's name.
You can also remove this access if you wish. Once removed, the attendee will not be able to share their screen to your audience.
Remove an Attendee
Here are the steps to remove an attendee from an ongoing session:
1. Click the People tab in the top left to see the list of all attendees available in your session.
2. Now, click next to the participant's name you want to remove and select Remove.
3. The attendee will receive a notification saying they have been removed from the session and will not be able to join again with the same email address.
Answer Questions
The Questions tab allows attendees to interact with you by posing questions throughout the session. Decide which questions are relevant and make answering them part of your session. Attendees will see the questions you've chosen to display and can "up-vote" or "down-vote" them.
To use the Questions function:
Click the Questions tab. New questions will be displayed in the Unanswered section, along with the names of the attendees who submitted them.
Select the question you wish to reply to. Choose Private reply to respond just to the submitter, or Public Reply to everyone to make your response visible to all attendees.
To display the question and reply, click Project.
Questions you have responded to are then moved to the Answered section.
Create Polls
Create or import polls during the session to keep your session engaging and interactive.
Create a poll
- Click the Polls tab on the left side of the screen, and select Create Poll.
- Choose a poll format from the pop-up window.
- Enter a question, set options for responses, and click Create Poll.
To learn more about creating polls, click here.
Import a poll from your Poll Library
- Click the Polls tab and select Import from Library.
- Select a poll from the pop-up window and click Import.
- Start a poll
- Click the Polls tab and select a poll from the menu.
- Click Start Poll. The poll will appear in a pop-up window on your attendees' mobile devices.
- Click View Results to display the results to your attendees.
Edit or delete an existing poll
- Click the Polls tab on the left side of the screen.
- Hover over the poll to see the Edit and Delete options.
- Click Edit to make changes to your poll, then click the Update button.
- Click Delete to remove your poll from the session. You will be asked to verify the action by clicking the Delete button.
Note: Deleting a poll that you imported will remove it from your presentation, but it will remain in your Poll Library. Polls created during the session will not be stored in the Poll Library if deleted.
Chat
The Chat function allows attendees to exchange messages with you during your session. To start a conversation, click the Chat tab on the left side of the screen, enter your message in the text box, and press Enter or click Send. Here you can view the chat conversation along with the name of the attendee and the time at which the question was raised.
Note: All attendees can exchange messages be it they are logged in or not.
End the broadcast
You can exit the session at any time by clicking Exit at the bottom-left of the screen.
Get instant feedback
At the end of your session:
A "Session details" summary will appear on your screen. View details like the name of the session, the total number of attendees, the time duration of your session, and the number of slides presented.
A rating window will appear on your attendees' screens. Ask them to rate and provide feedback about your presentation. When they submit the rating and feedback, a customized thank you message from the trainer will pop up on their devices.

Broadcast a message
You can broadcast a message to your entire audience if you wish to notify them about something and this notification would be displayed right in the centre of their screen.
1. To broadcast a message, after launching a session, click on Broadcast message from the left pane.
2. Enter the message you wish to display to your audience and click on Broadcast.
Related Articles
Deliver a live session
TrainerCentral allows you to broadcast your voice and video, screen share, showcase videos and present slideshows to attendees in different locations. By default, when you begin, TrainerCentral audio and video will be enabled. You can start a session ...Set up a live lesson
TrainerCentral enables you to host live lesson by allowing you to broadcast your voice and video, screen share, showcase videos and present slideshows to attendees in different locations. Setup a live lesson: After creating a course, click on the ...Attend a live lesson inside a course
Once your learner has enrolled for your course, they can attend your live lessons as part of the course curriculum. Attendees can connect through a web browser or use the audience (Viewer) app to interact with you during your session from their ...Delete lesson/live workshop/assignment API
Description: To delete a lesson or live workshop or assignment in a course. Request URL: <domain>/api/v4/<orgId>/sessions/<sessionId>.json [where <sessionId> refers to lesson ID or live workshop ID or assignment ID] Method: DELETE OAuth Scope: ...Attend a live workshop
How can my learners register for and access a live workshop? As soon as you promote your live workshops, your prospects can register for the session using the session link and attend the session through the access link that is shared to their inbox ...