Configure ticket in multiple currencies
For any ticket configured, you can choose to display the ticket in a particular currency to all users across the globe or display the course price in different currencies when accessed from different countries.
This way any prospect accessing the course sales page from a particular country will see the course price in that relevant currency (if added when configuring a ticket).
To add multiple currencies to a ticket:
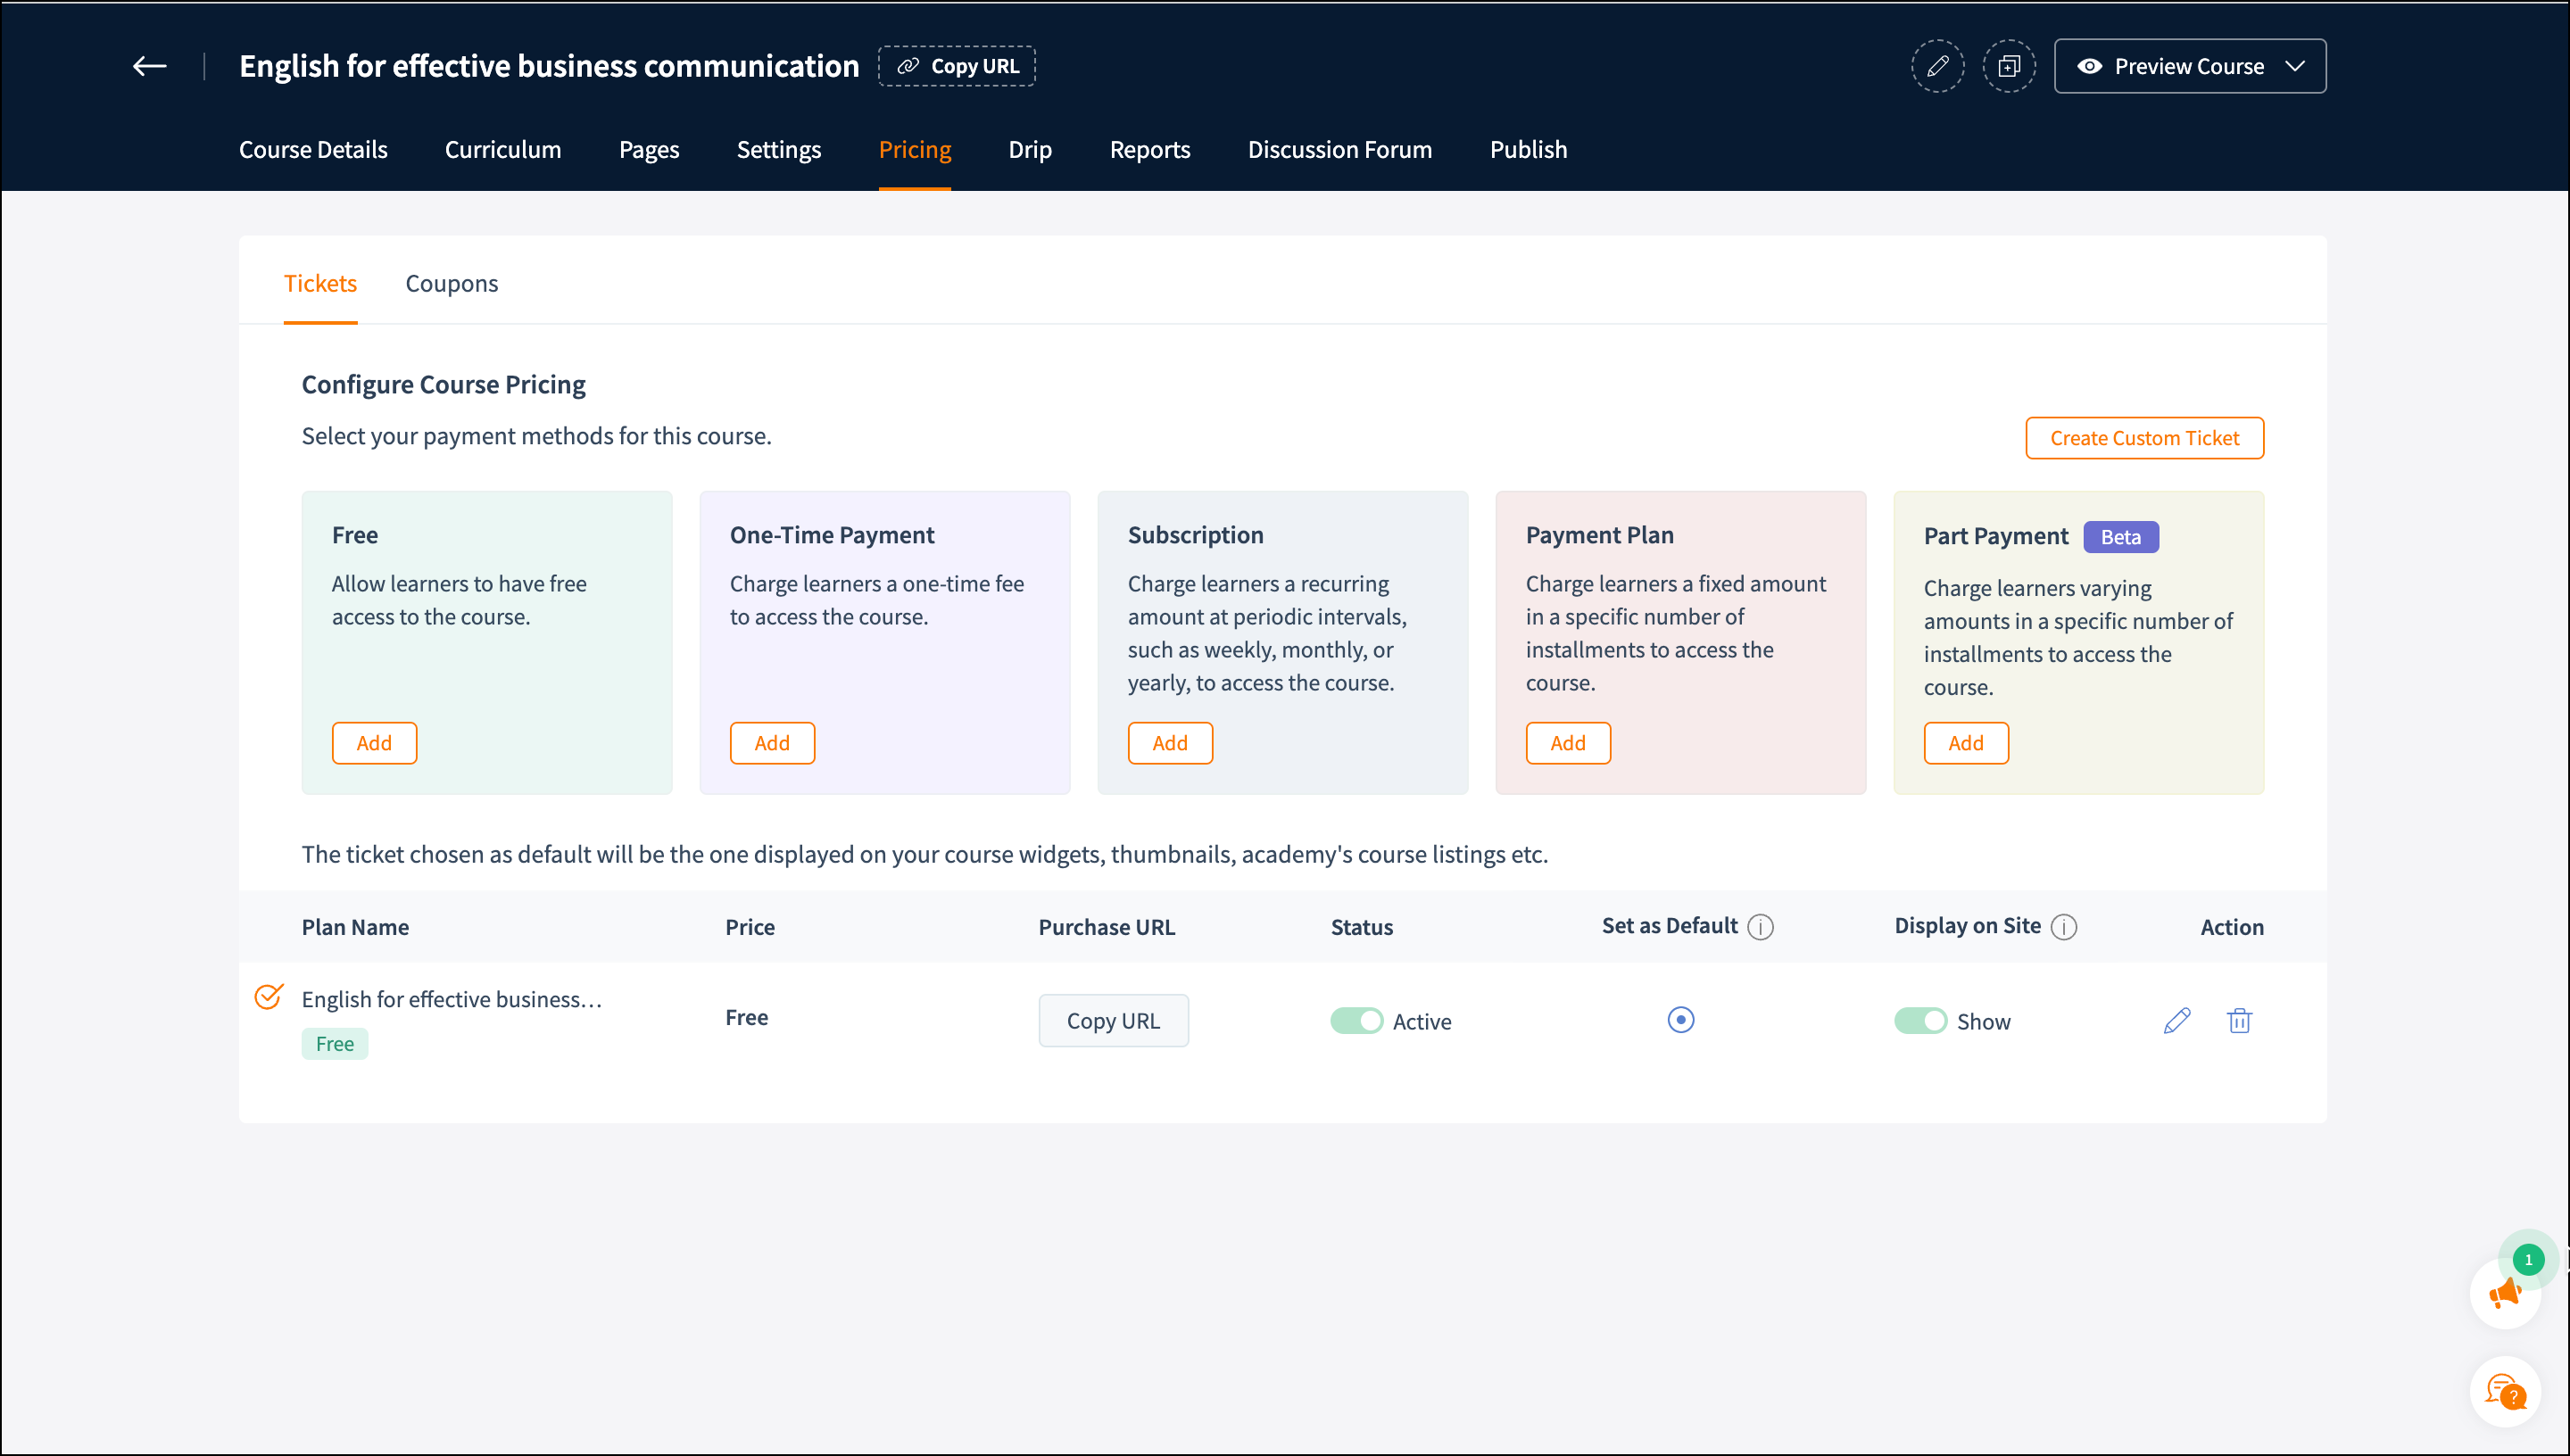
1. After creating a course, navigate to the Pricing tab and choose any one of the available payment modes (One-time payment, Subscription, Payment plan etc) and click Add.
2. In the modal that pops-up, click on Add Currency.
3. Choose the country and the currency that should be shown when accessed from that country.
For example, in the screenshot shown above, all prospects who access your course page from Hungary will see the price in Canadian Dollars.
4. After adding multiple currencies, if a prospect accesses your course sales from a country not listed here, the ticket price will be shown in its default currency (the one chosen using the radio button).

The multi-currency feature is supported for the default payment gateways available in your academy. However, if you configure payment gateways through the custom payment feature, multi-currency won't be supported.
Missing currency
If you do not see a particular currency listed above when you try to add them for a ticket, kindly navigate to the Currencies section under the Payments tab under the Settings menu and add your required currency here.
 Note: If your learners face payment issues when trying to pay for your course, kindly ensure that the added currencies for your ticket is supported by the payment gateway configured in your academy.