Customize website setting
A captivating and user-friendly website is paramount in improving visitors' browsing experience and enhancing your brand credibility. Let's look at the steps to customize your website according to your preferences.
 This new site editor is only for academies created on or after December 16, 2024. For academies created before that date, please refer to this help article.
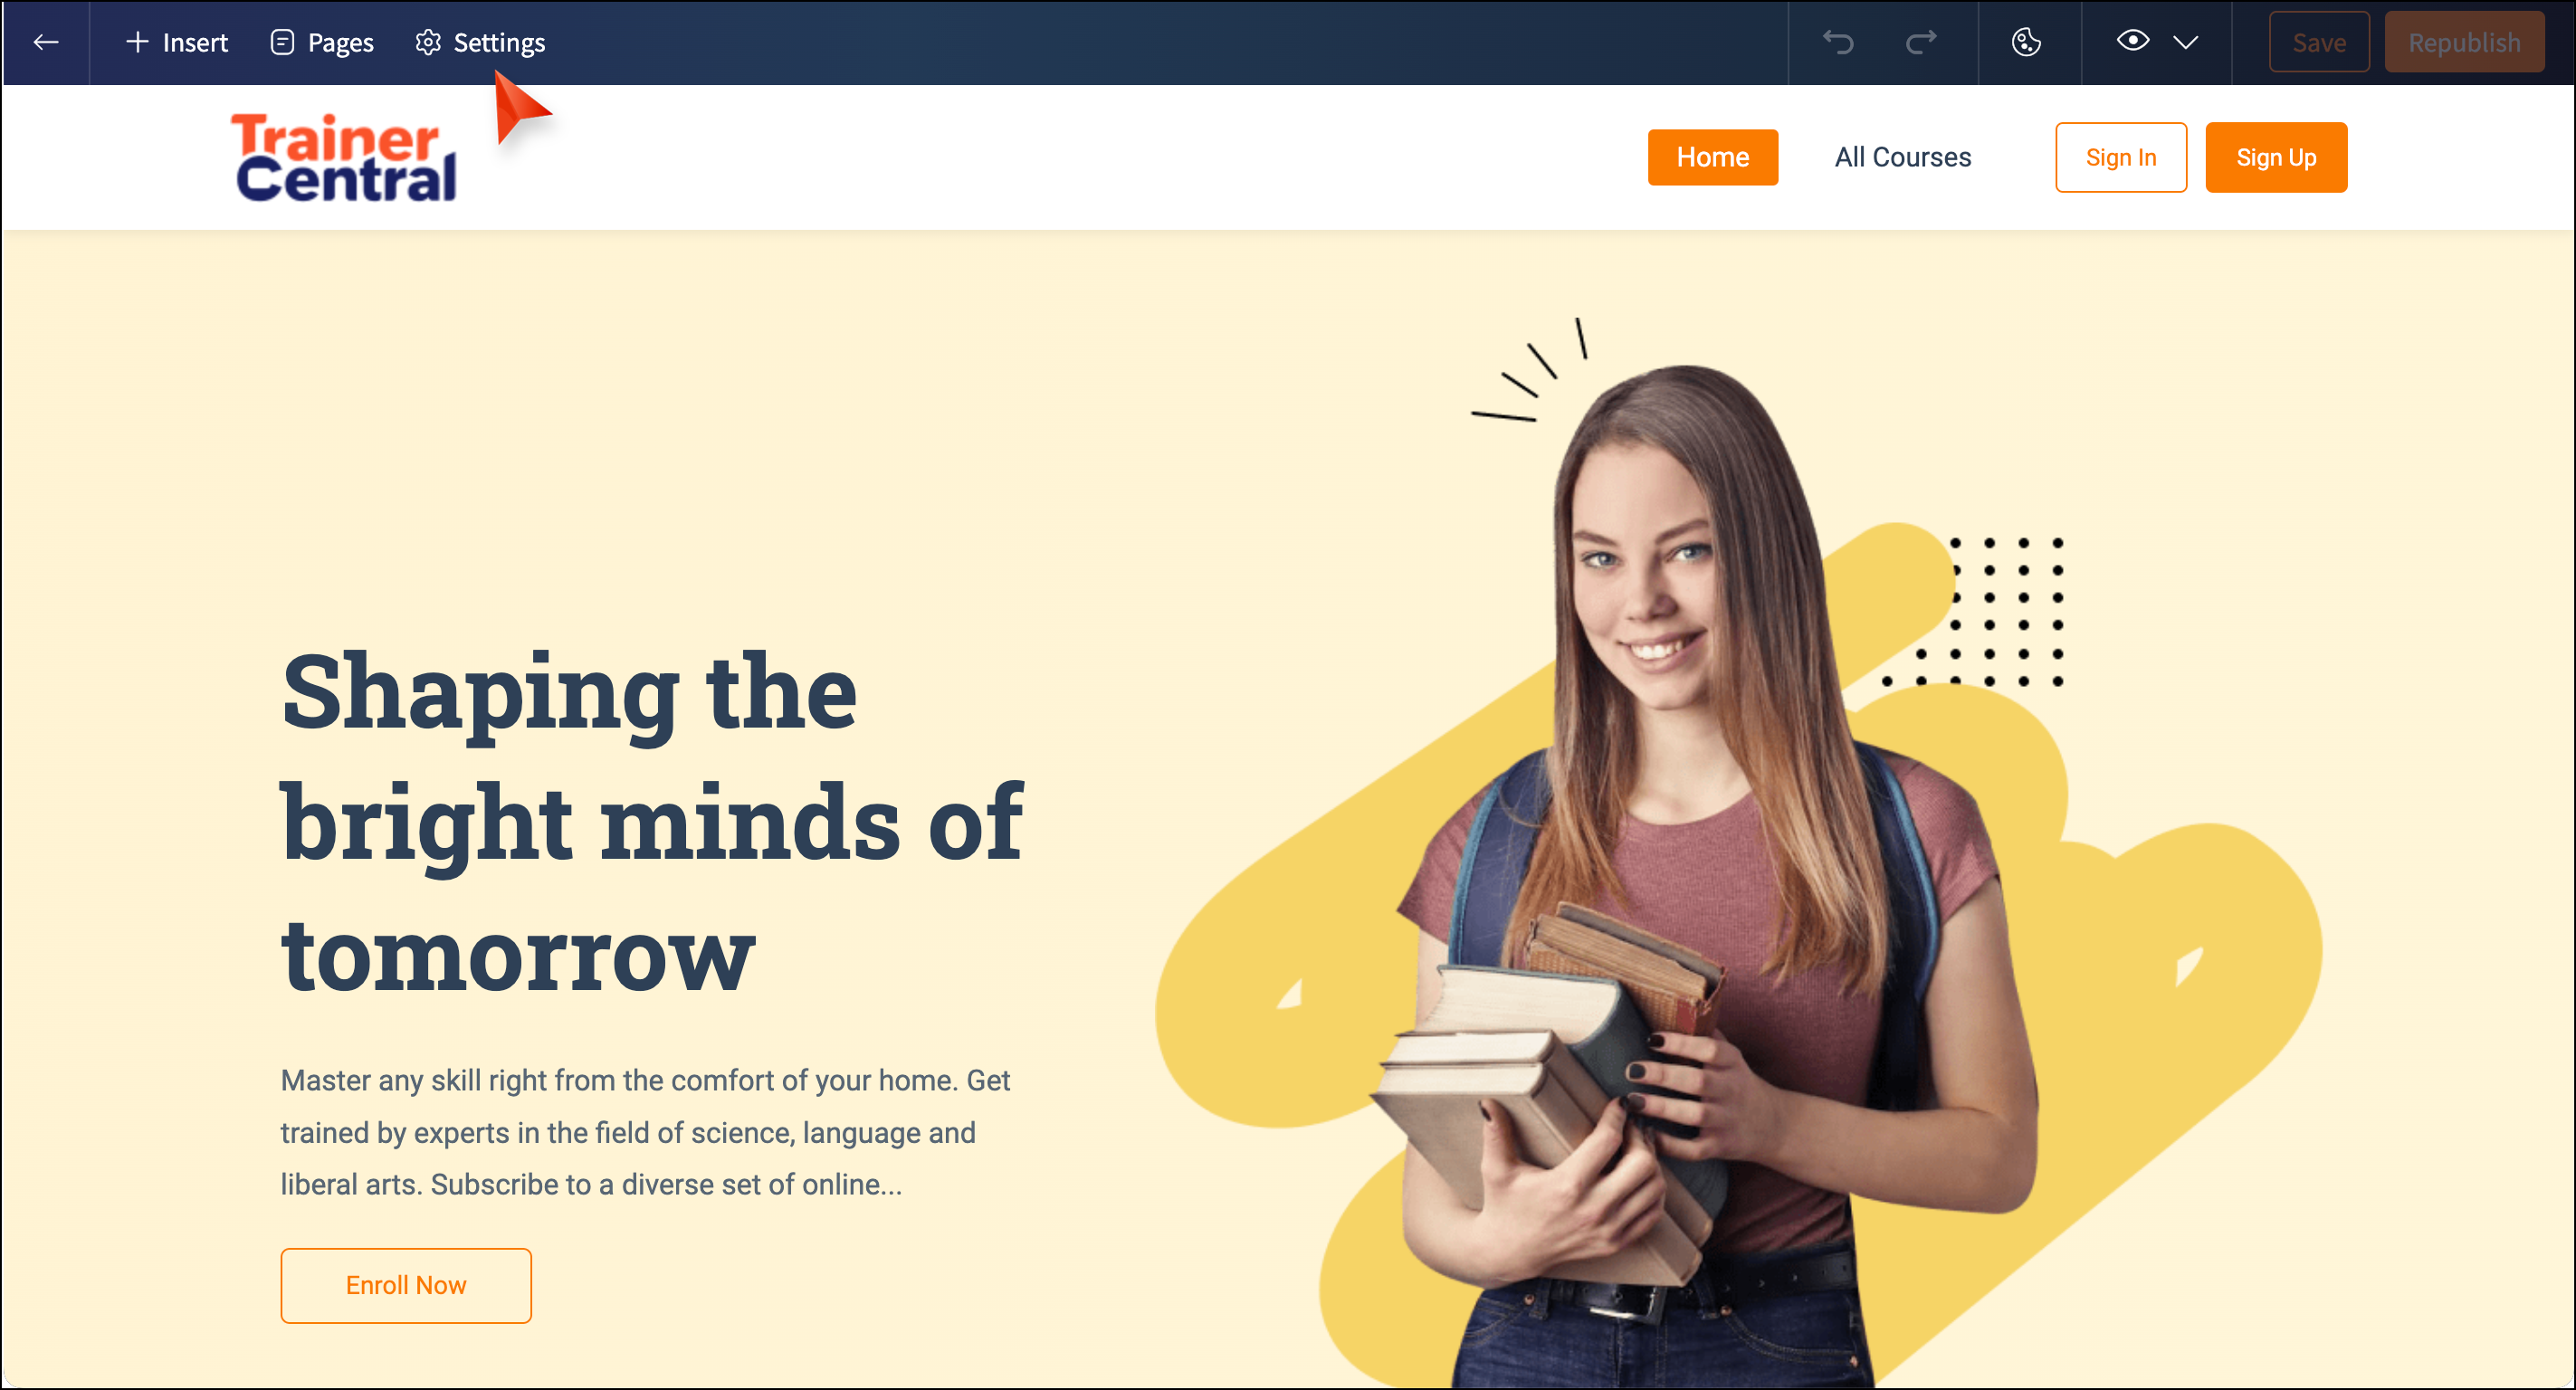
To access the website Settings,
- Click the Edit academy website at the bottom of the left pane.
- Click Settings at the top menu of the website builder. The General, Social Profiles, Cookie Bar, Header and Footer Code, and Menu tabs will be displayed in the left pane.
General
The general settings section allows you to customize branding, add policy links, and edit the portal name.
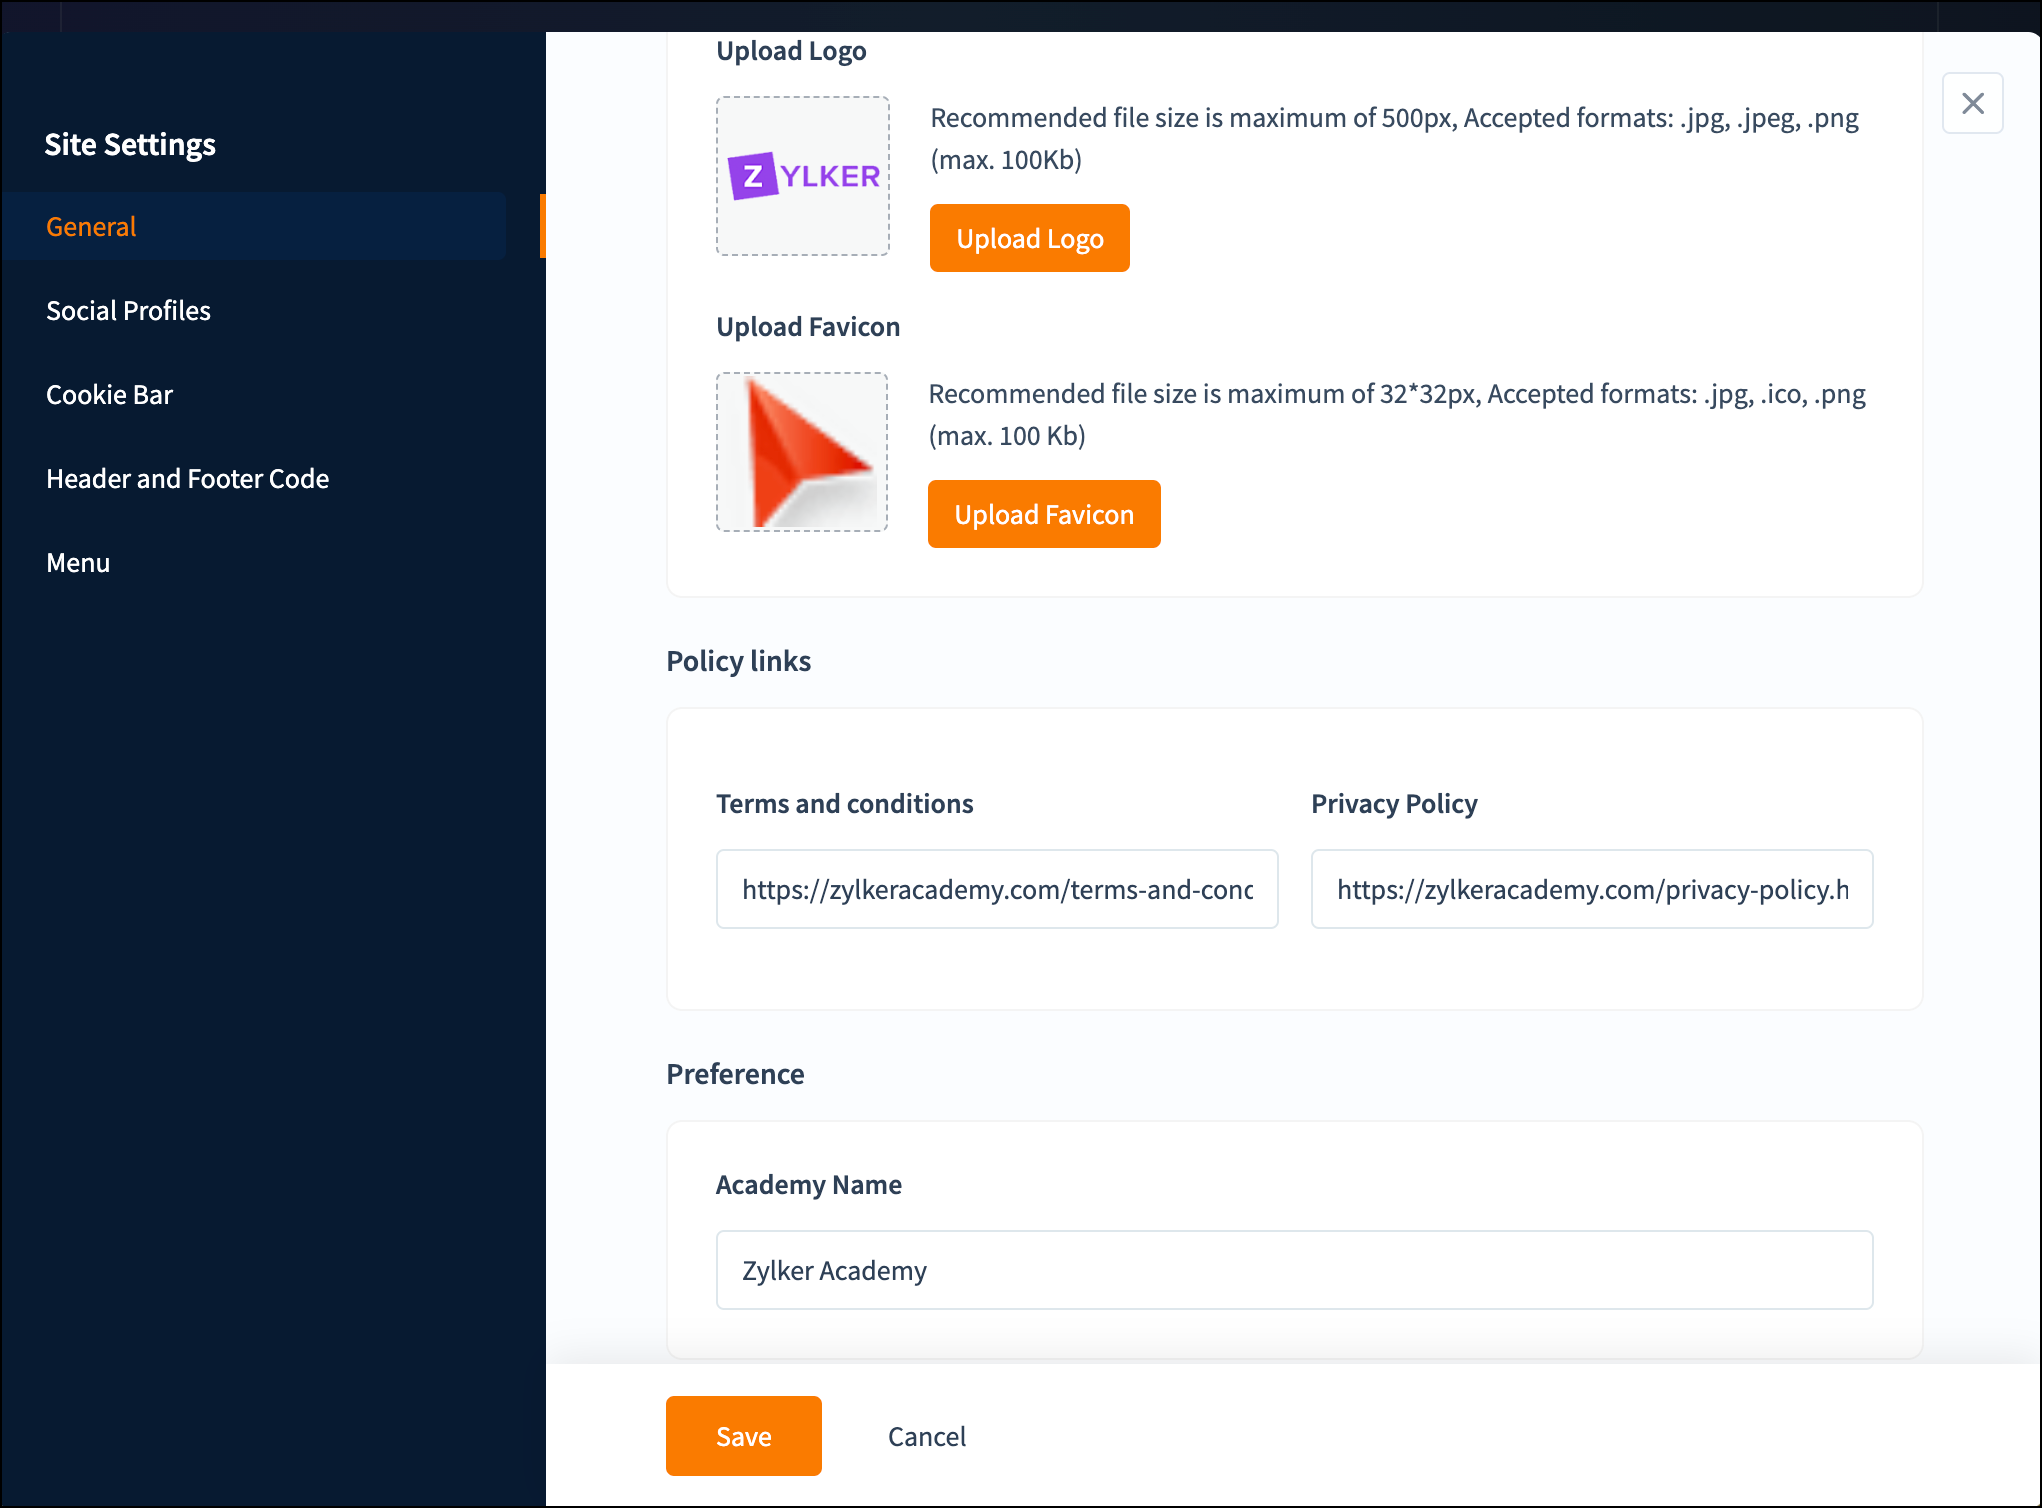
Click the General tab in the left pane. The Logo and Favicon, Policy links, and Preferences tabs will be displayed in the right pane.
Logo and Favicon
The logo and favicon showcase your brand across the website. You can upload and customize the image file to suit your brand.
- Click the Upload Logo button to upload the logo image.
- Click Upload Favicon to upload the favicon image.
The accepted formats for Upload Logo are JPG, JPEG, and PNG. The maximum size of the Logo should be 100 KB, and the recommended dimensions are 500px.
The accepted formats for Upload Favicon are JPG, ICO, and SVG. The maximum size of Favicon should be 100 KB, and the recommended dimensions are 32px * 32px.
Policy links
The Policy links offer visitors a transparent overview of your offerings and how user data is handled. You can add them to your website.
- Enter the Terms and Conditions URL.
- Enter the Privacy Policy URL.
Preference
You can customize the academy name according to your preferences.
- Edit the Academy Name.
- Click Save.
Social Profiles
Social media links of your brand help engagement and enhance website traffic. You can enable them on your website to let visitors follow you on other platforms.
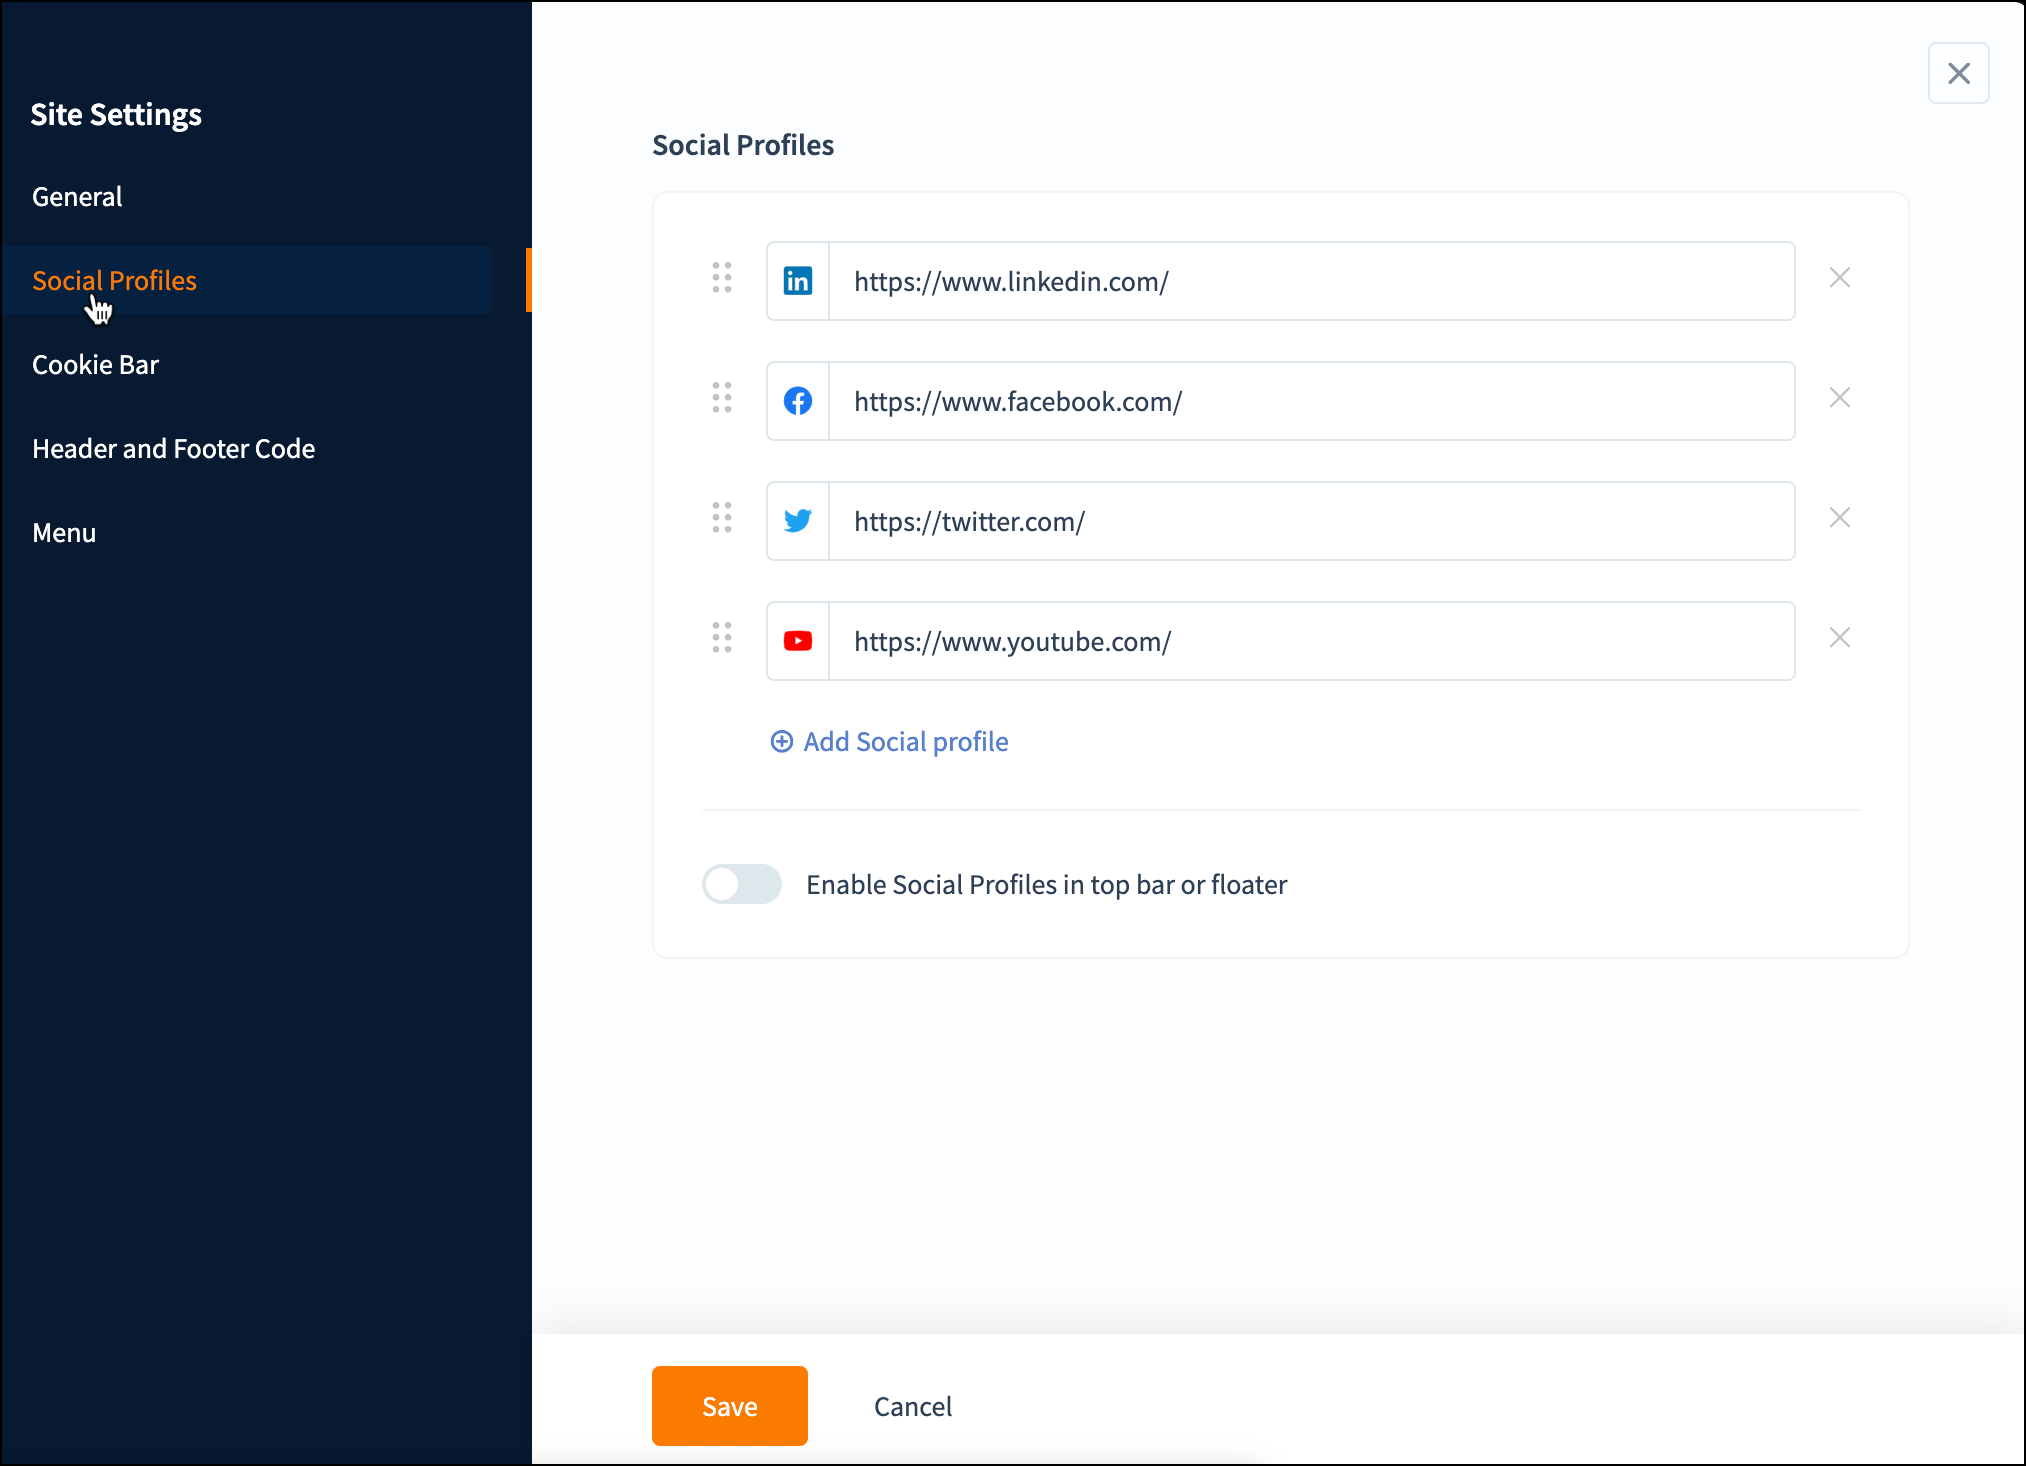
- Click the Social Profiles tab in the left pane. You can see the list of social media platforms that you can add to your site.
- Enter your academy's social media profile corresponding to the social media.
- Click the Add Social profile link if you would like to add some more social media links.
- Select Enable Social Profiles in top bar or floater to display the social profiles at the top or as a floater.
- Click Save.
Cookie Bar
Cookies are used to gather visitor statistics on your site. Cookie consent is a legal requirement to obtain permission from visitors before setting cookies on their devices. You can enable them to build trust with visitors.
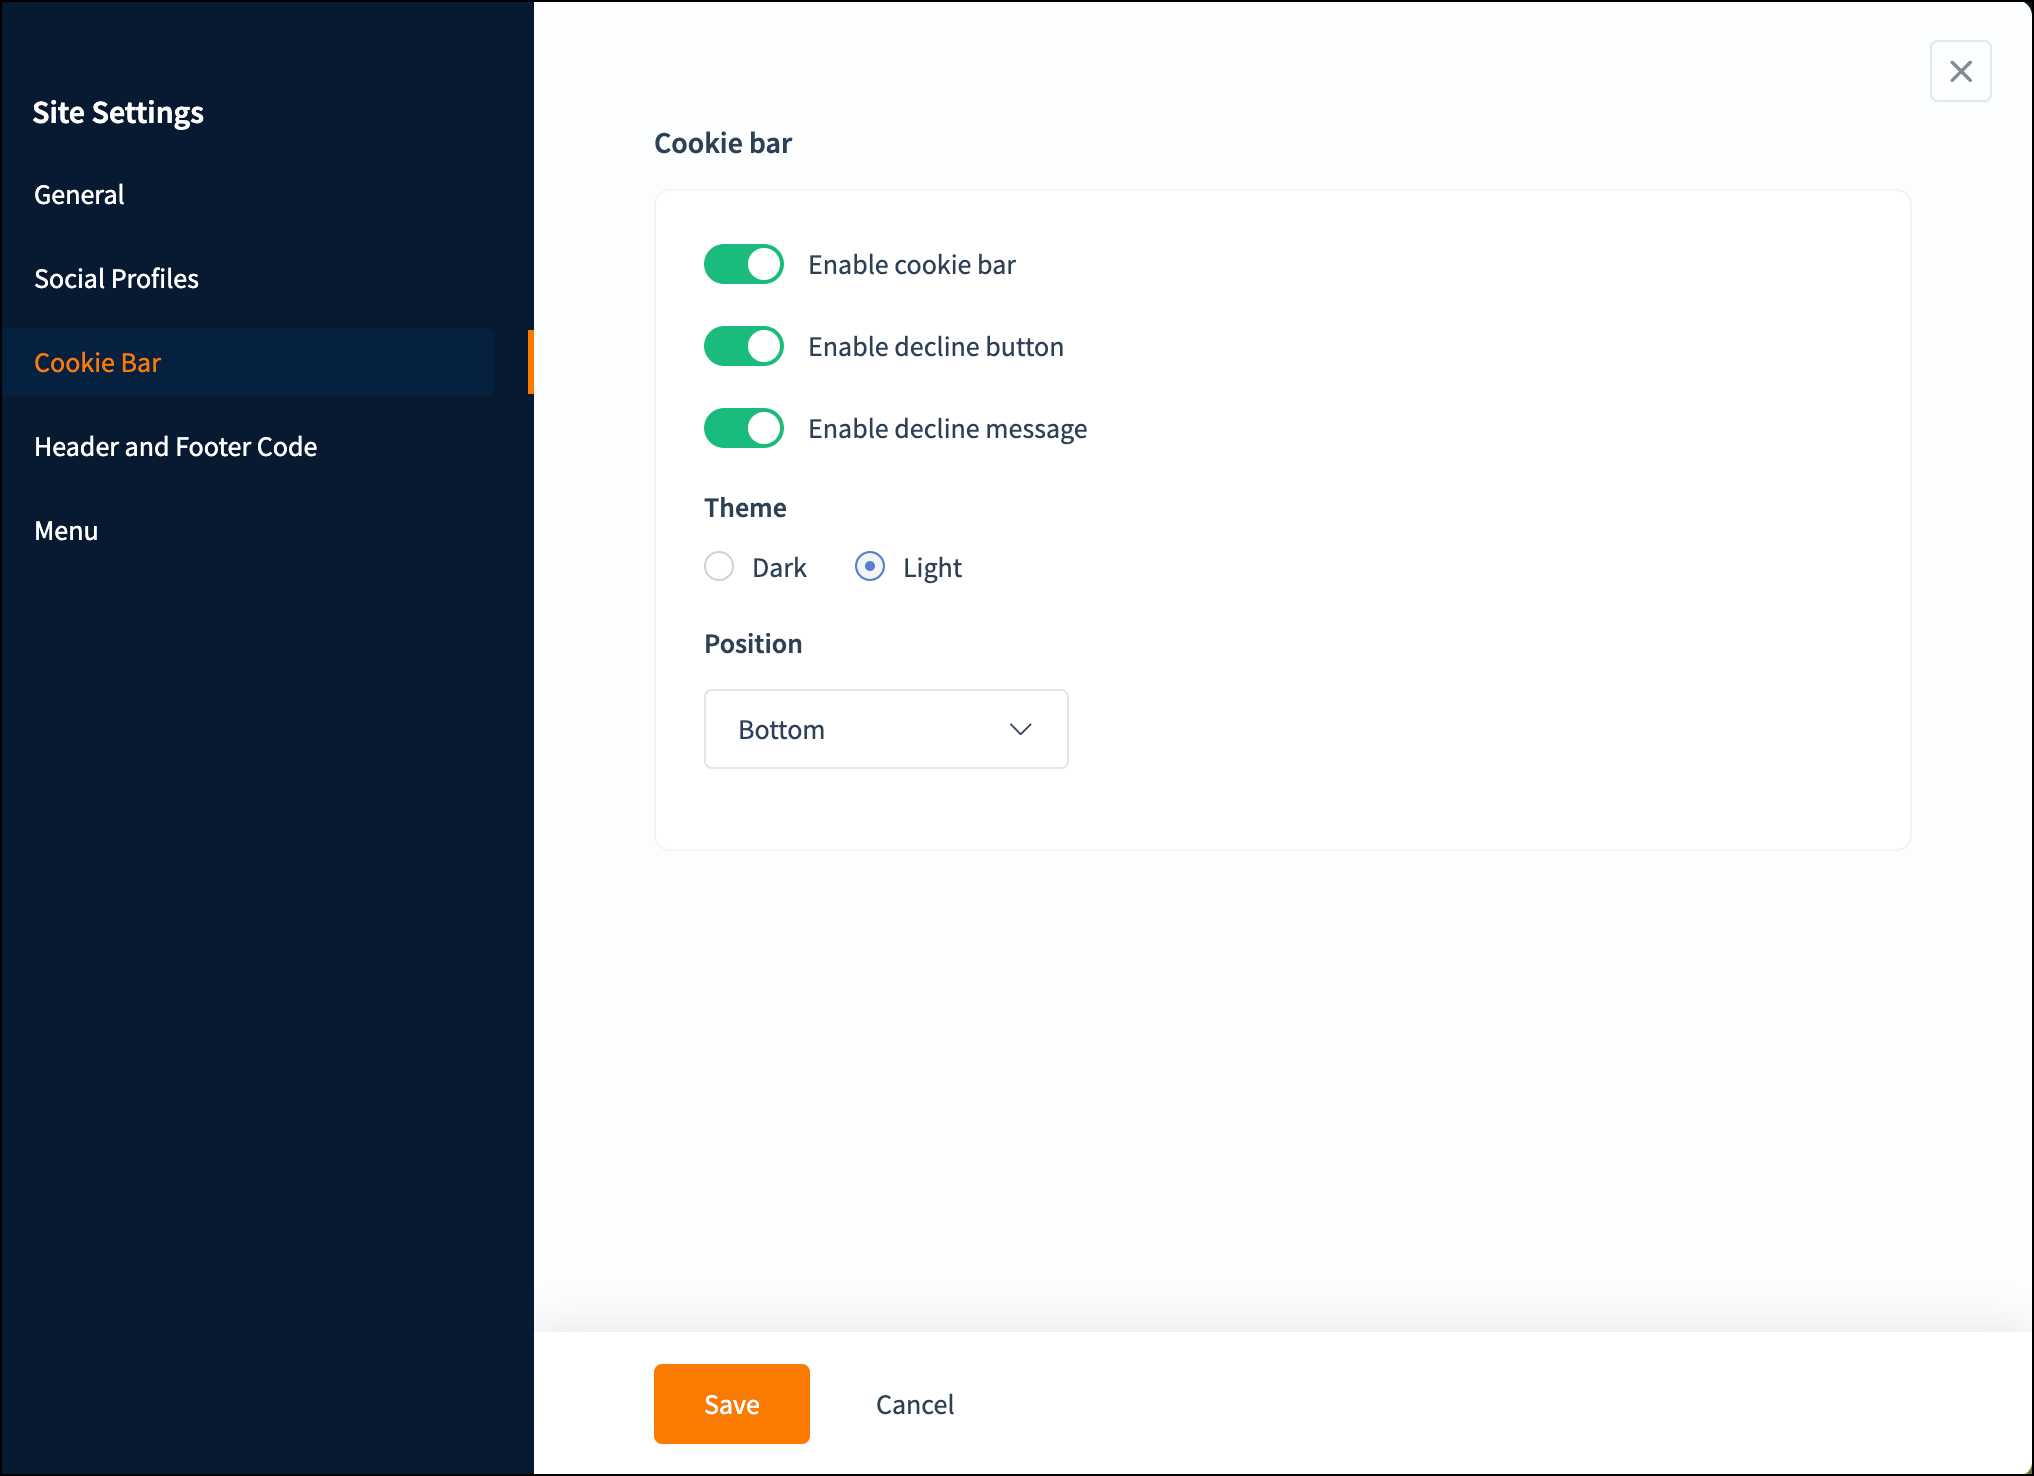
- Click the Cookie Bar tab on the left pane.
- Toggle the Enable cookie bar Button.
- Toggle the Enable decline and Enable decline message buttons, if needed. Select your preferred Theme.
- Choose the cookie bar Position.
- Click Save.
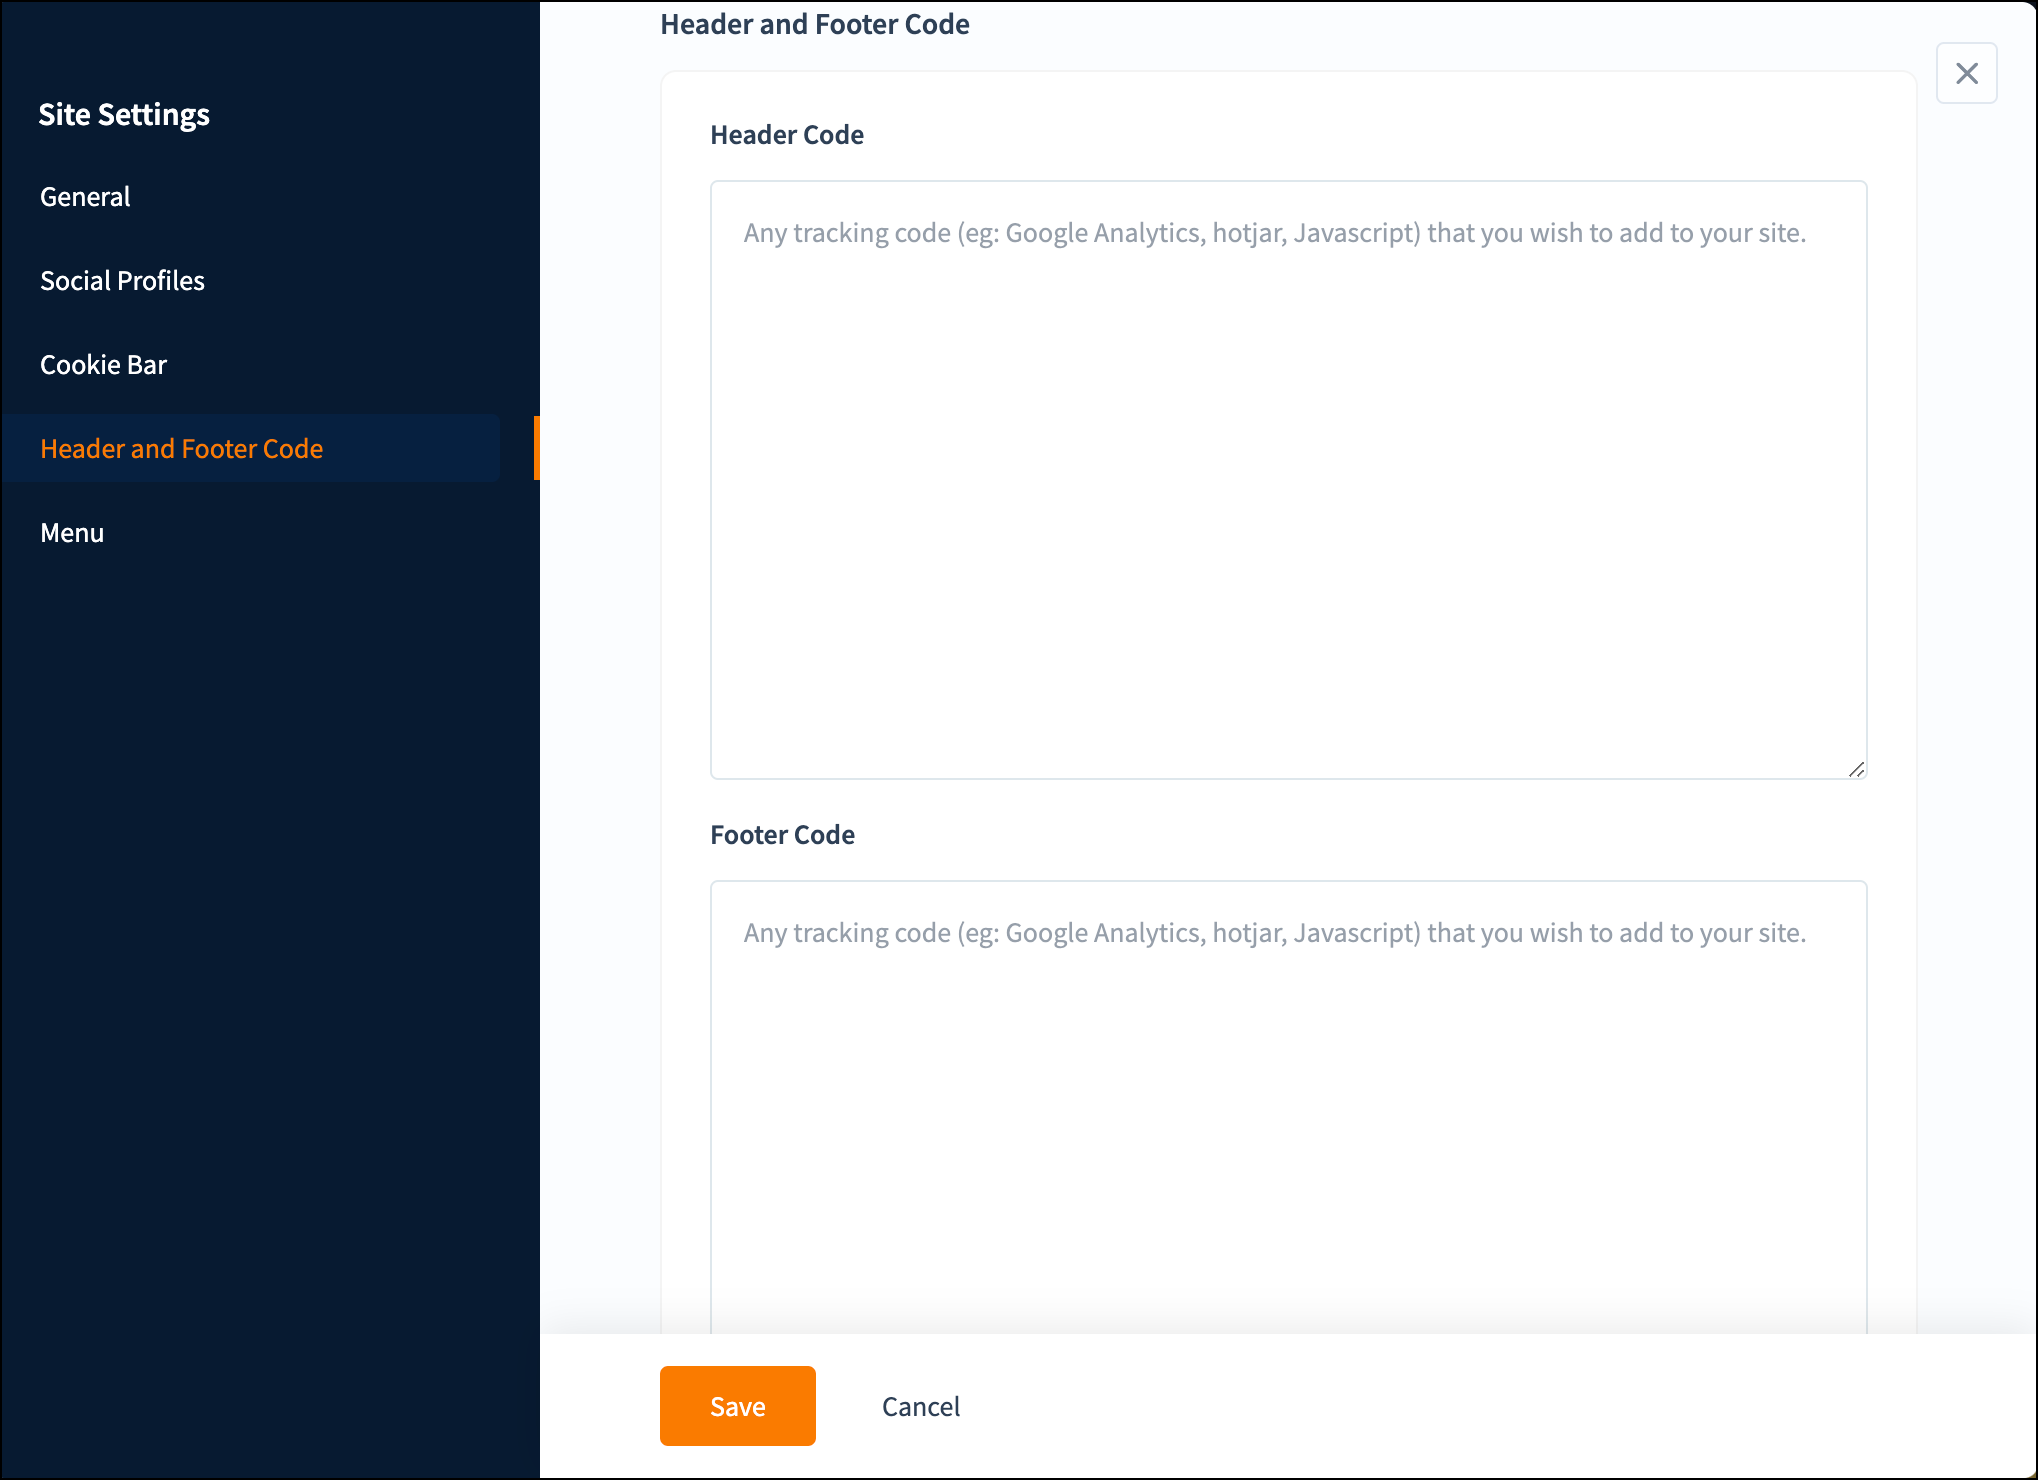
Header and Footer Code
Header and footer code refers to the HTML, CSS, and JavaScript placed within the header and footer sections of a website. Placing analytics and ad tracking codes in the header or footer allows you to collect user data and track website performance effectively.
- Click the Header and Footer Code tab on the left pane.
- Paste the code in the Header Code and Footer Code section.
- Click Save.
Menu
A well-structured menu improves site usability, boosts SEO, encourages user engagement, and supports conversions.
- Click the Menu tab on the left pane.
- Click the Add Menu Item link at the top next to the Menu to add a new menu to the website. You have the option to include the menu either before or after the listed menu.
- Select the more icon next to the menu.
- Select the Add After option to add the menu next to the selected menu.
- Select the Add Before option to add the menu before the selected menu.
- Select the Add a Child Item option to add this menu as a child menu for the selected menu.
- Select the Edit option to edit the menu name.
- Select the Delete option to delete the menu.
The changes will be reflected on your website only when you republish the website. Learn how to republish the website